

Getting started
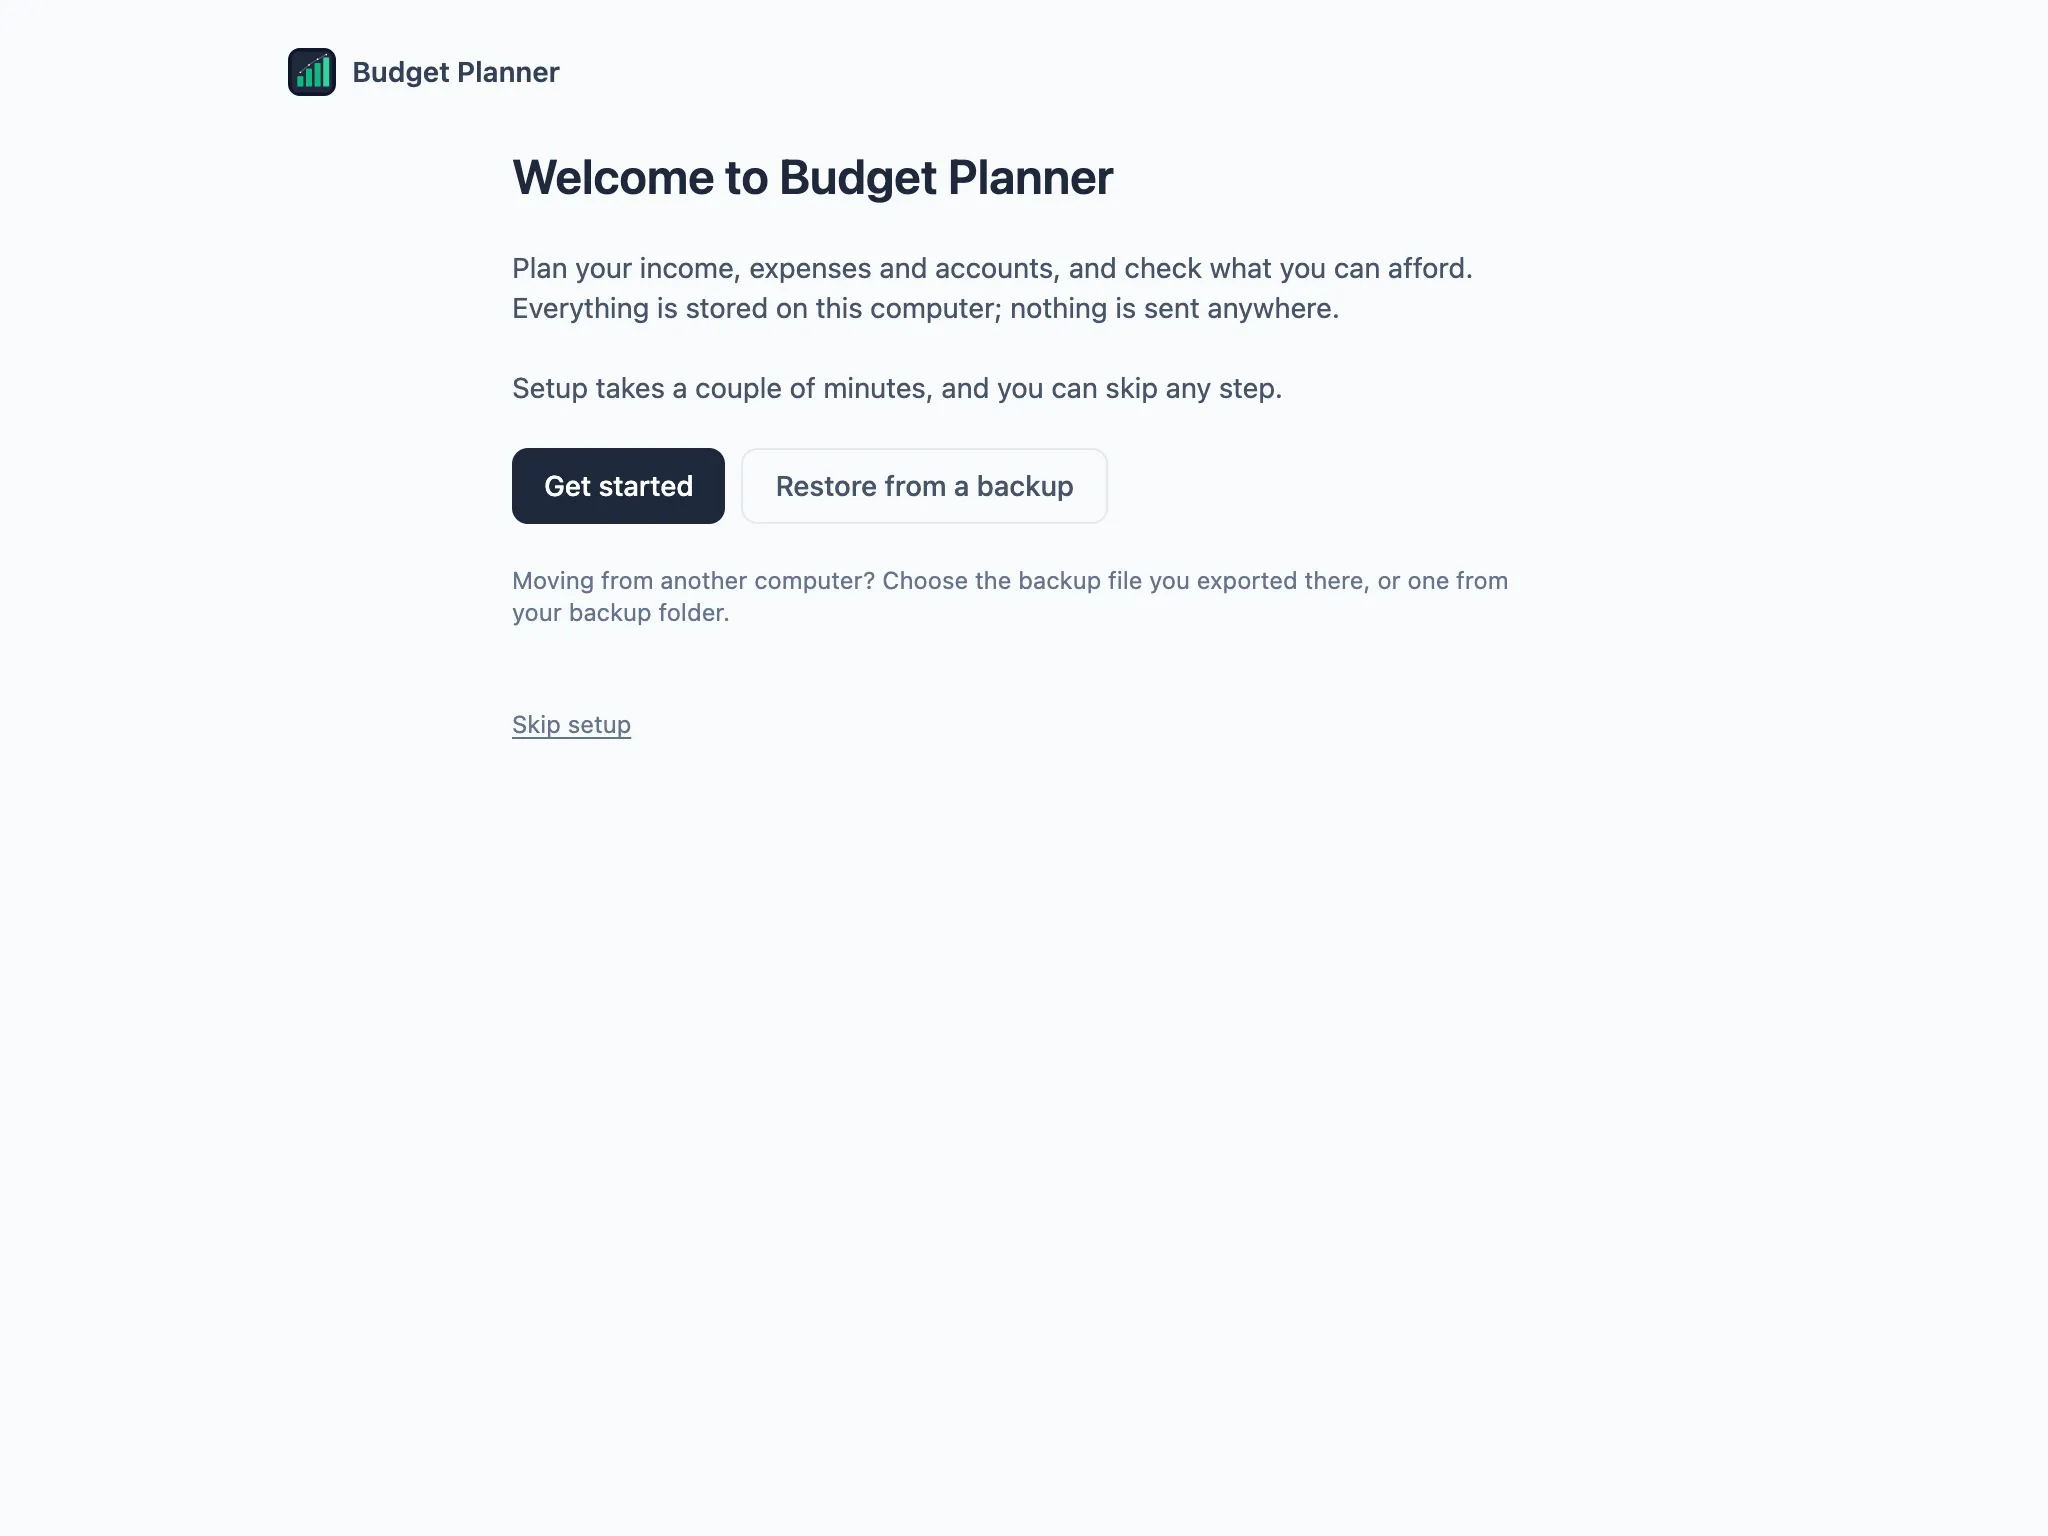
The first time you open Budget Planner it walks you through a short setup: your currency, when your year starts, your accounts and your income. You can skip any step and fill it in later, or choose Skip setup at the bottom of any screen to go straight to the app.
Moving from another Mac? Skip to Restoring from a backup.
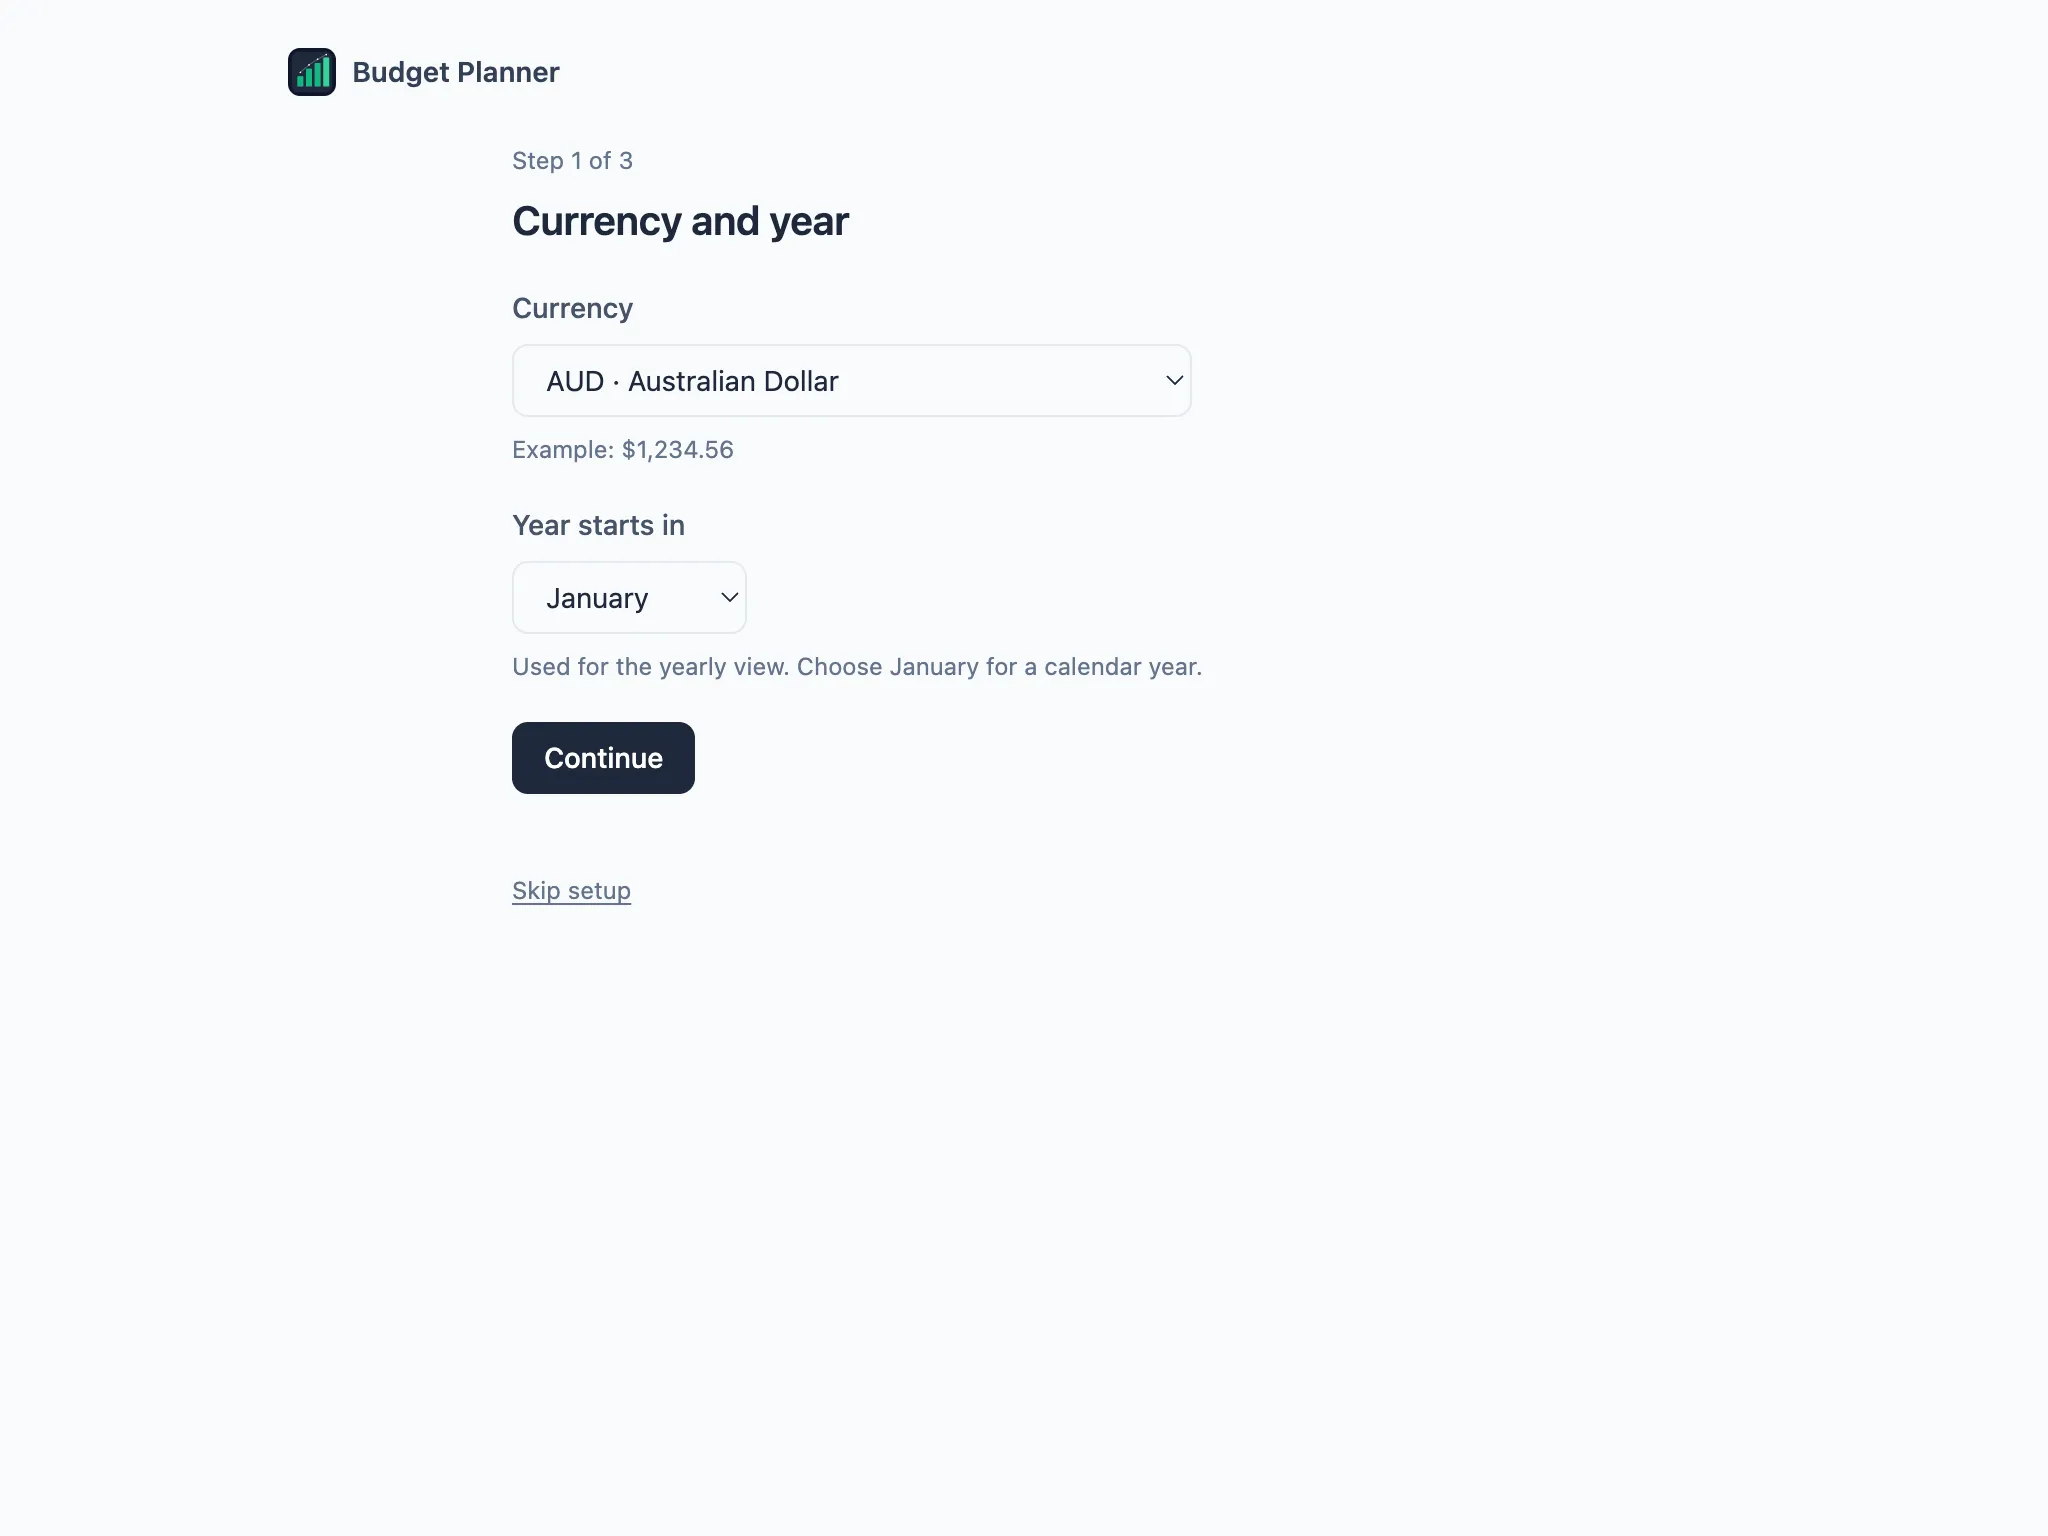
Currency and year
Section titled “Currency and year”Choose Get started, then pick your currency and the month your year starts in. Budget Planner suggests a currency based on your Mac’s region, and shows an example amount so you can check the format.
The year setting is used for the yearly view: January for a calendar year, or July if you think in Australian financial years. You can change both later in Settings.
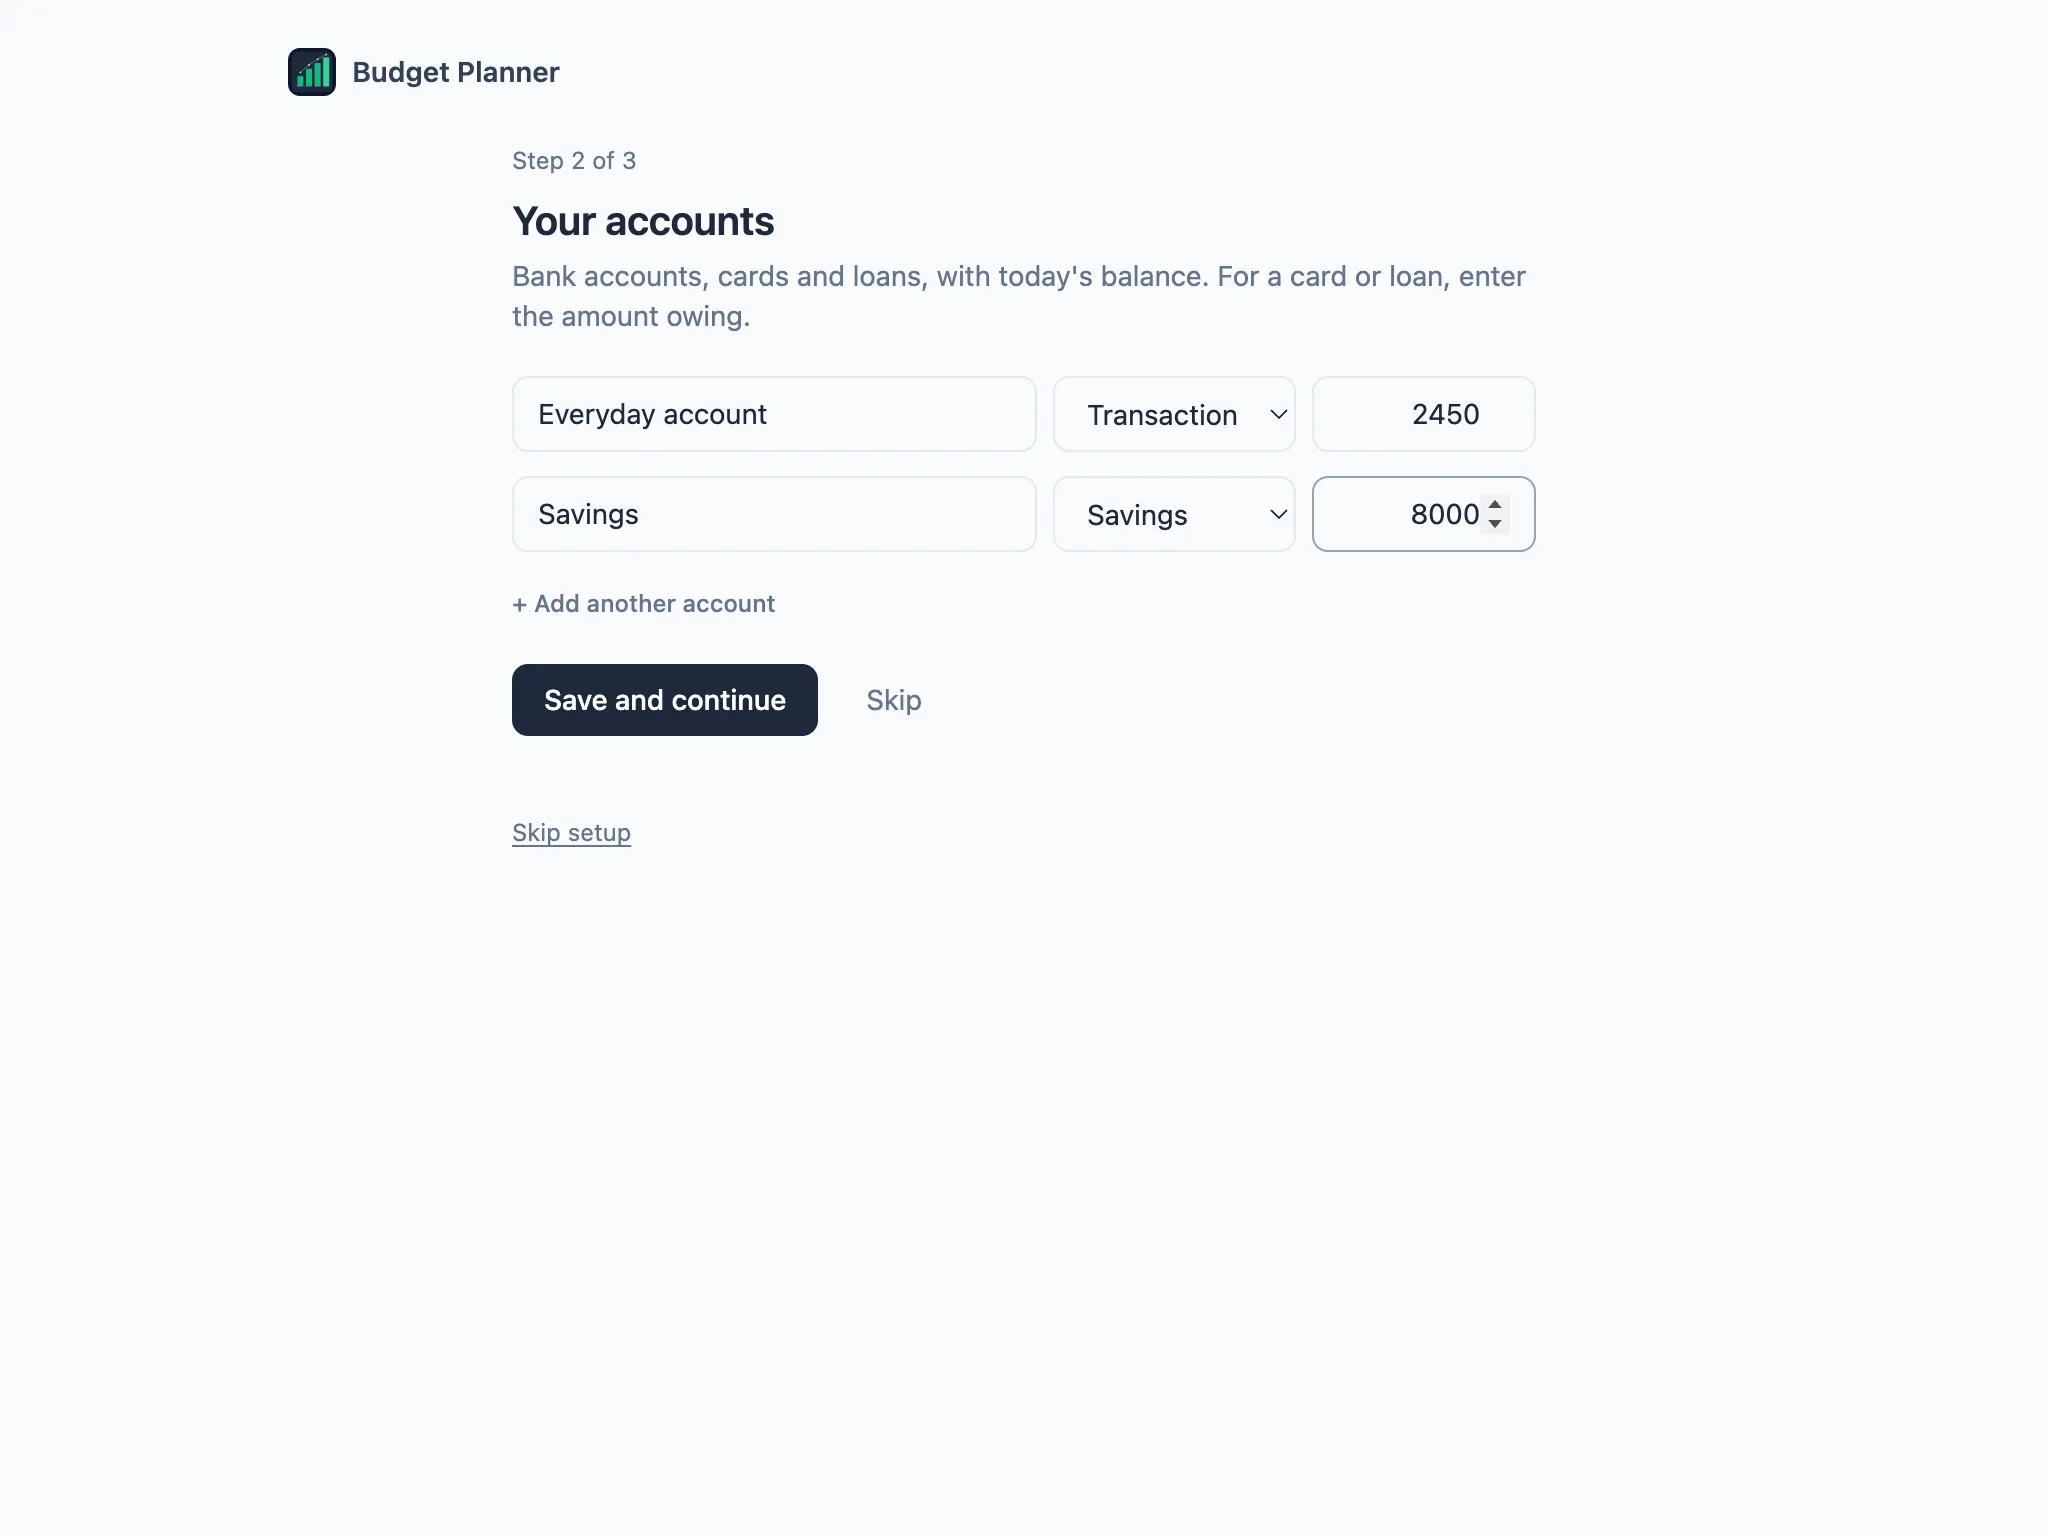
Your accounts
Section titled “Your accounts”Add your bank accounts, cards and loans with today’s balance. For a credit card or loan, enter the amount you owe. Use + Add another account for each extra one, and pick its type: transaction, savings, credit card, loan, mortgage, investment, cash, property or other asset.
Rows with no name are left out, so you don’t need to delete a spare row before you continue.
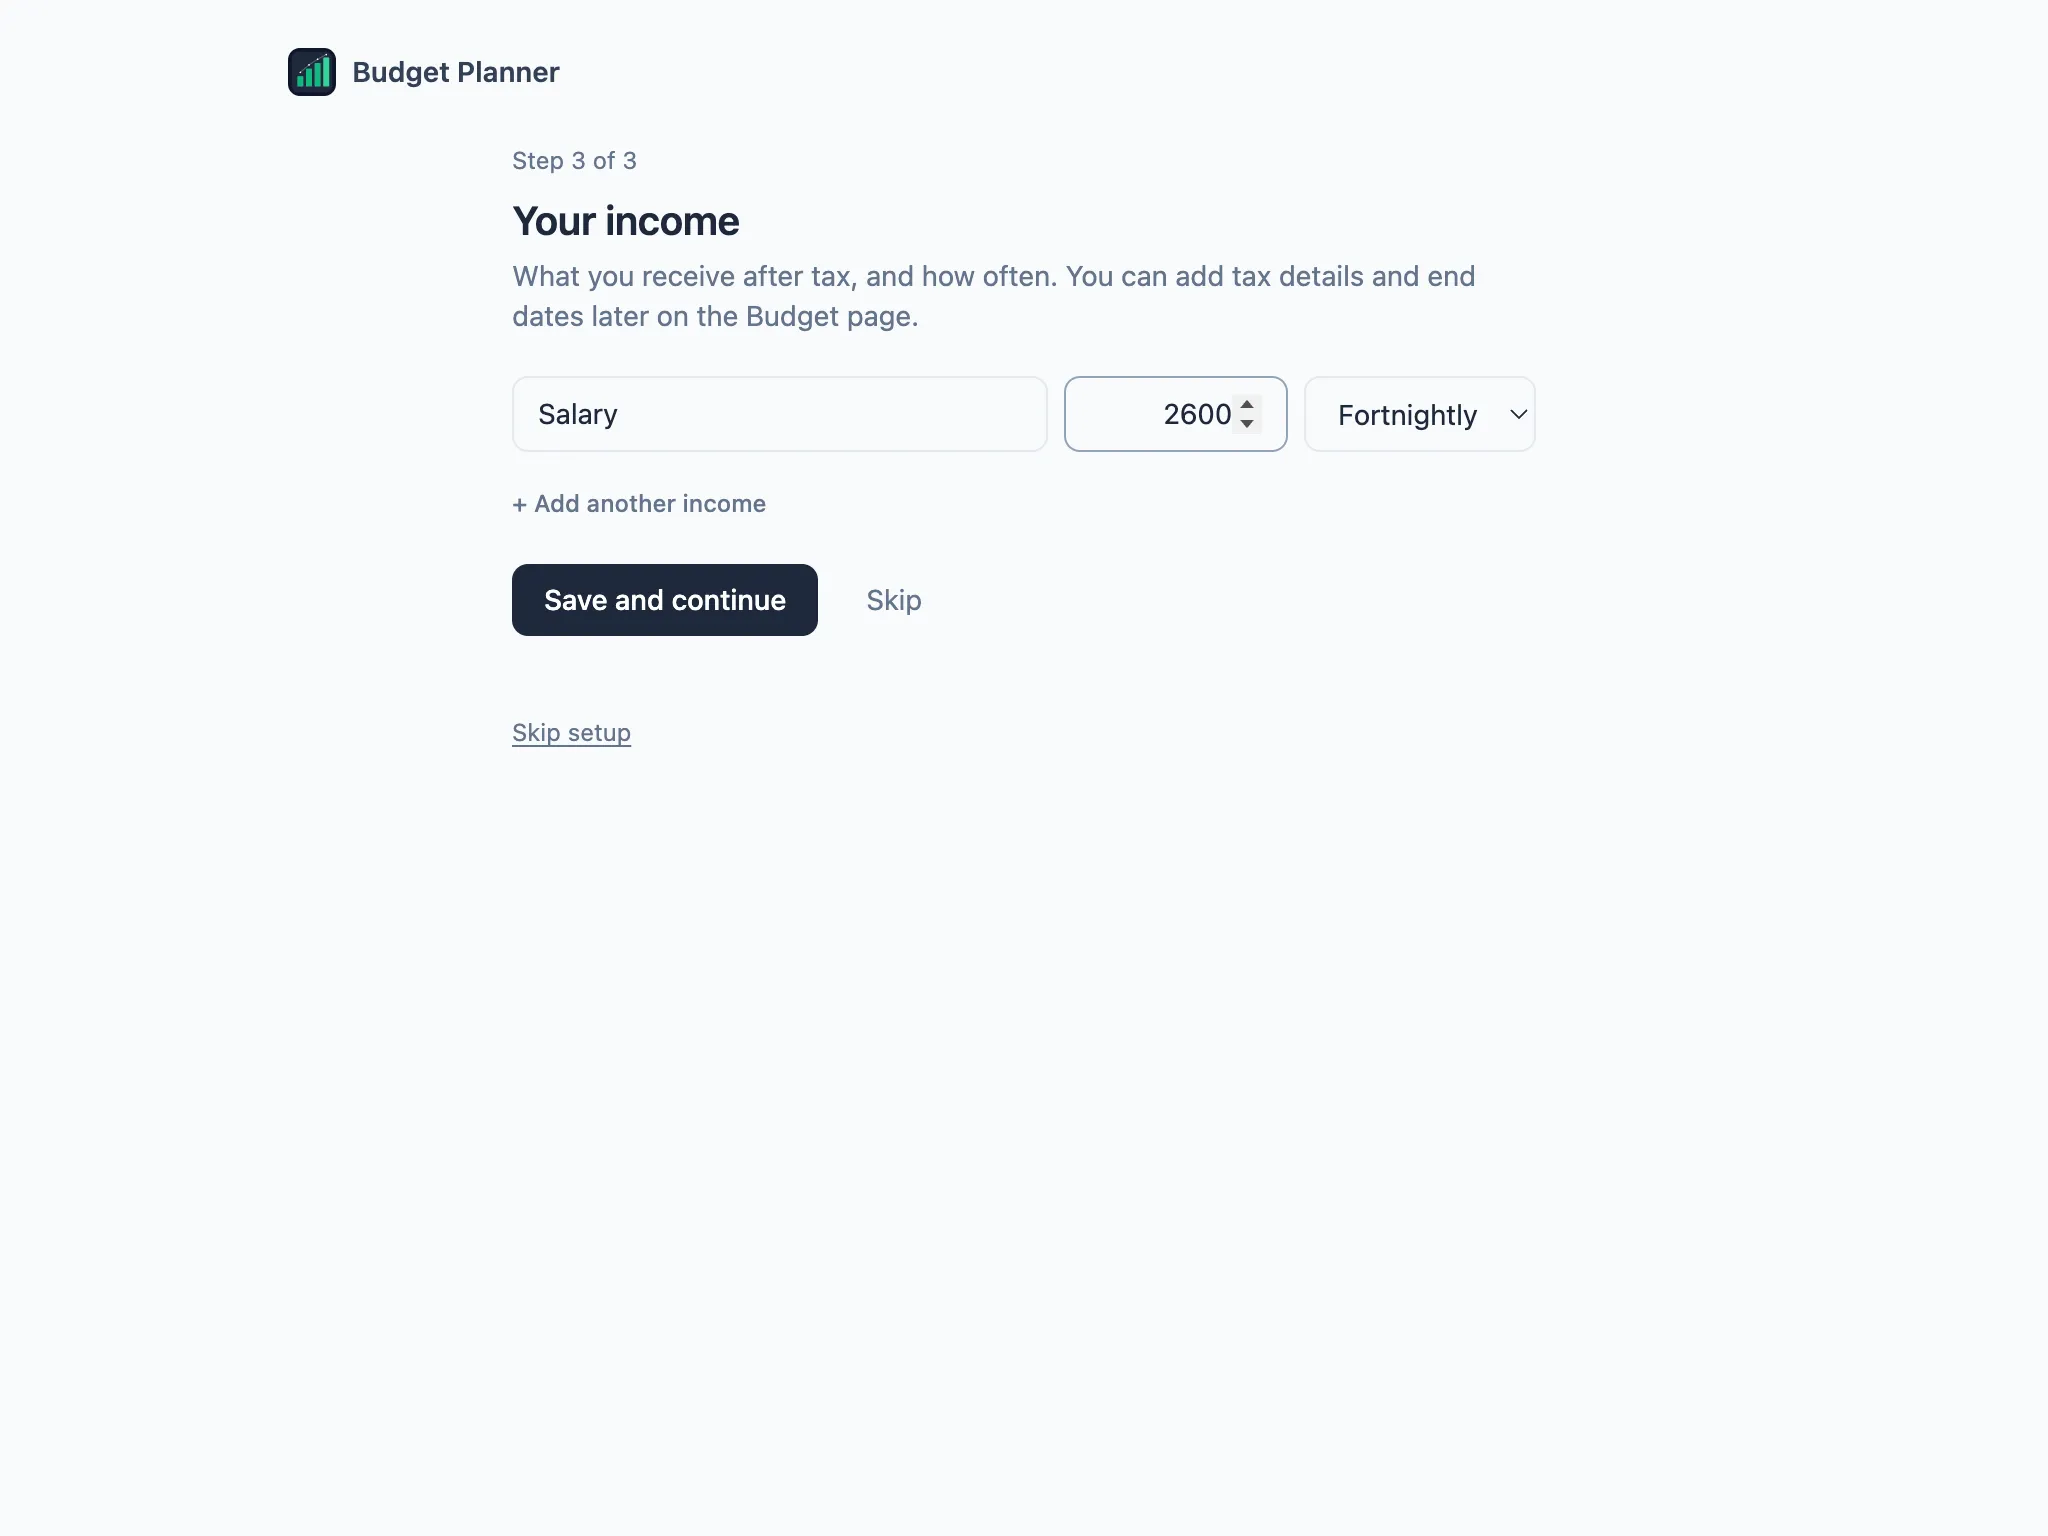
Your income
Section titled “Your income”Enter what you receive after tax, and how often: weekly, fortnightly, monthly or annually. Income you add here starts from today. If your pay is before tax, or ends on a set date, you can change that later on the Budget page.
You’re set up
Section titled “You’re set up”The last screen points you to the next things worth doing: adding your expenses on the Budget page, checking a loan or purchase on the Affordability page, and choosing a backup folder in Settings → Backups so your data survives moving to a new computer.
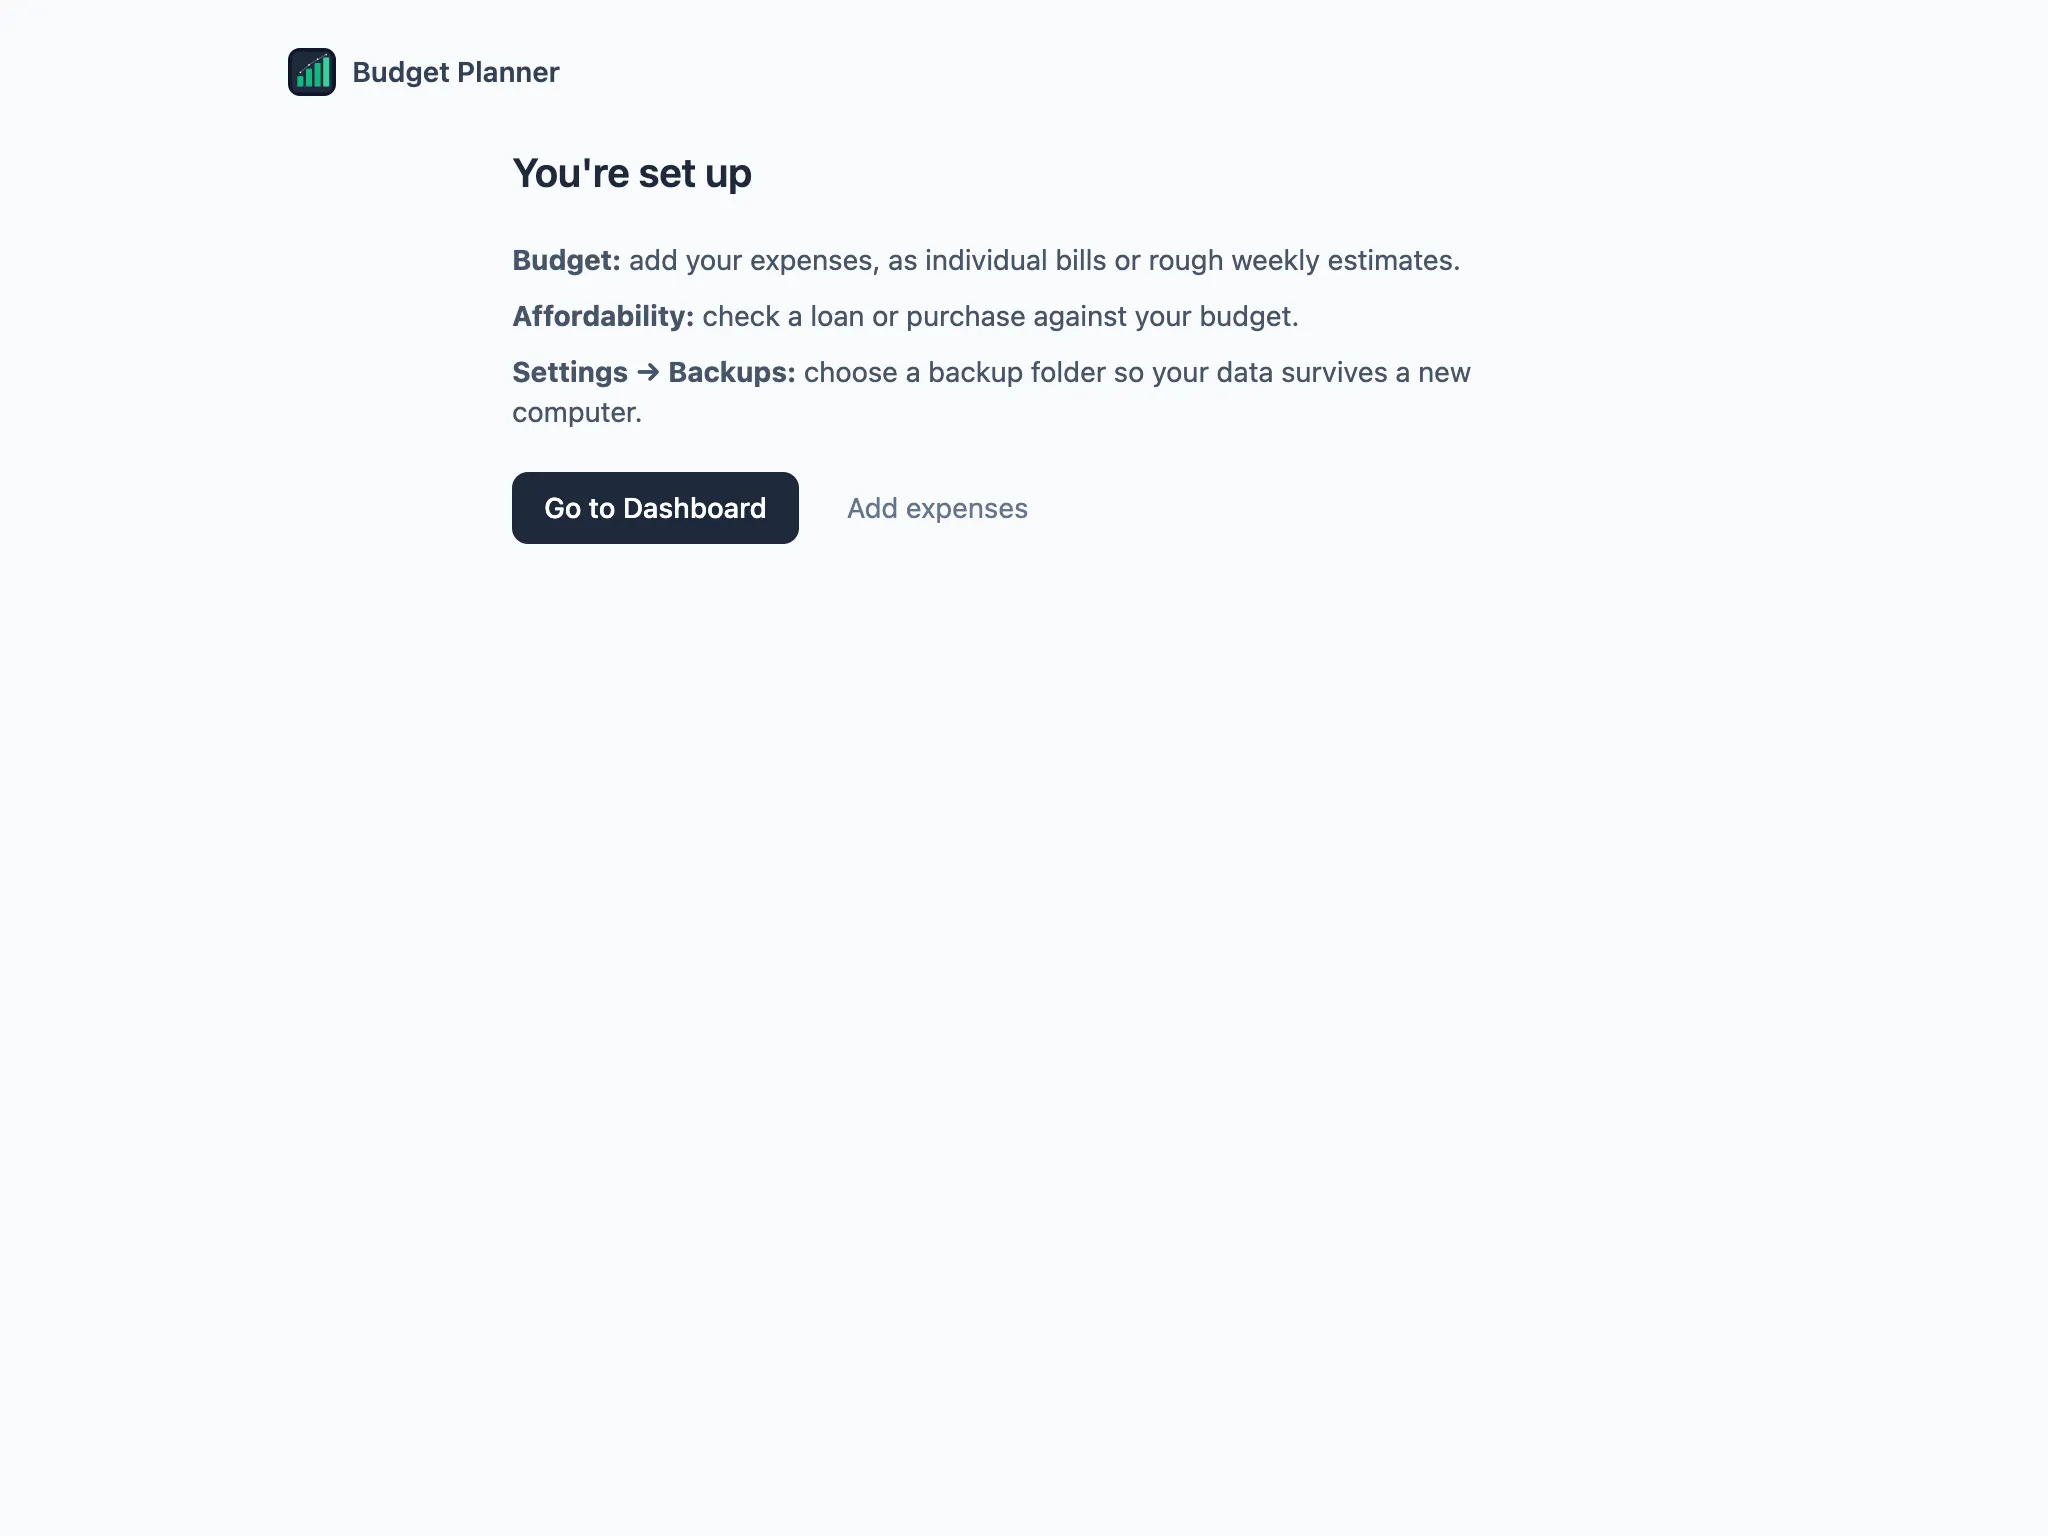
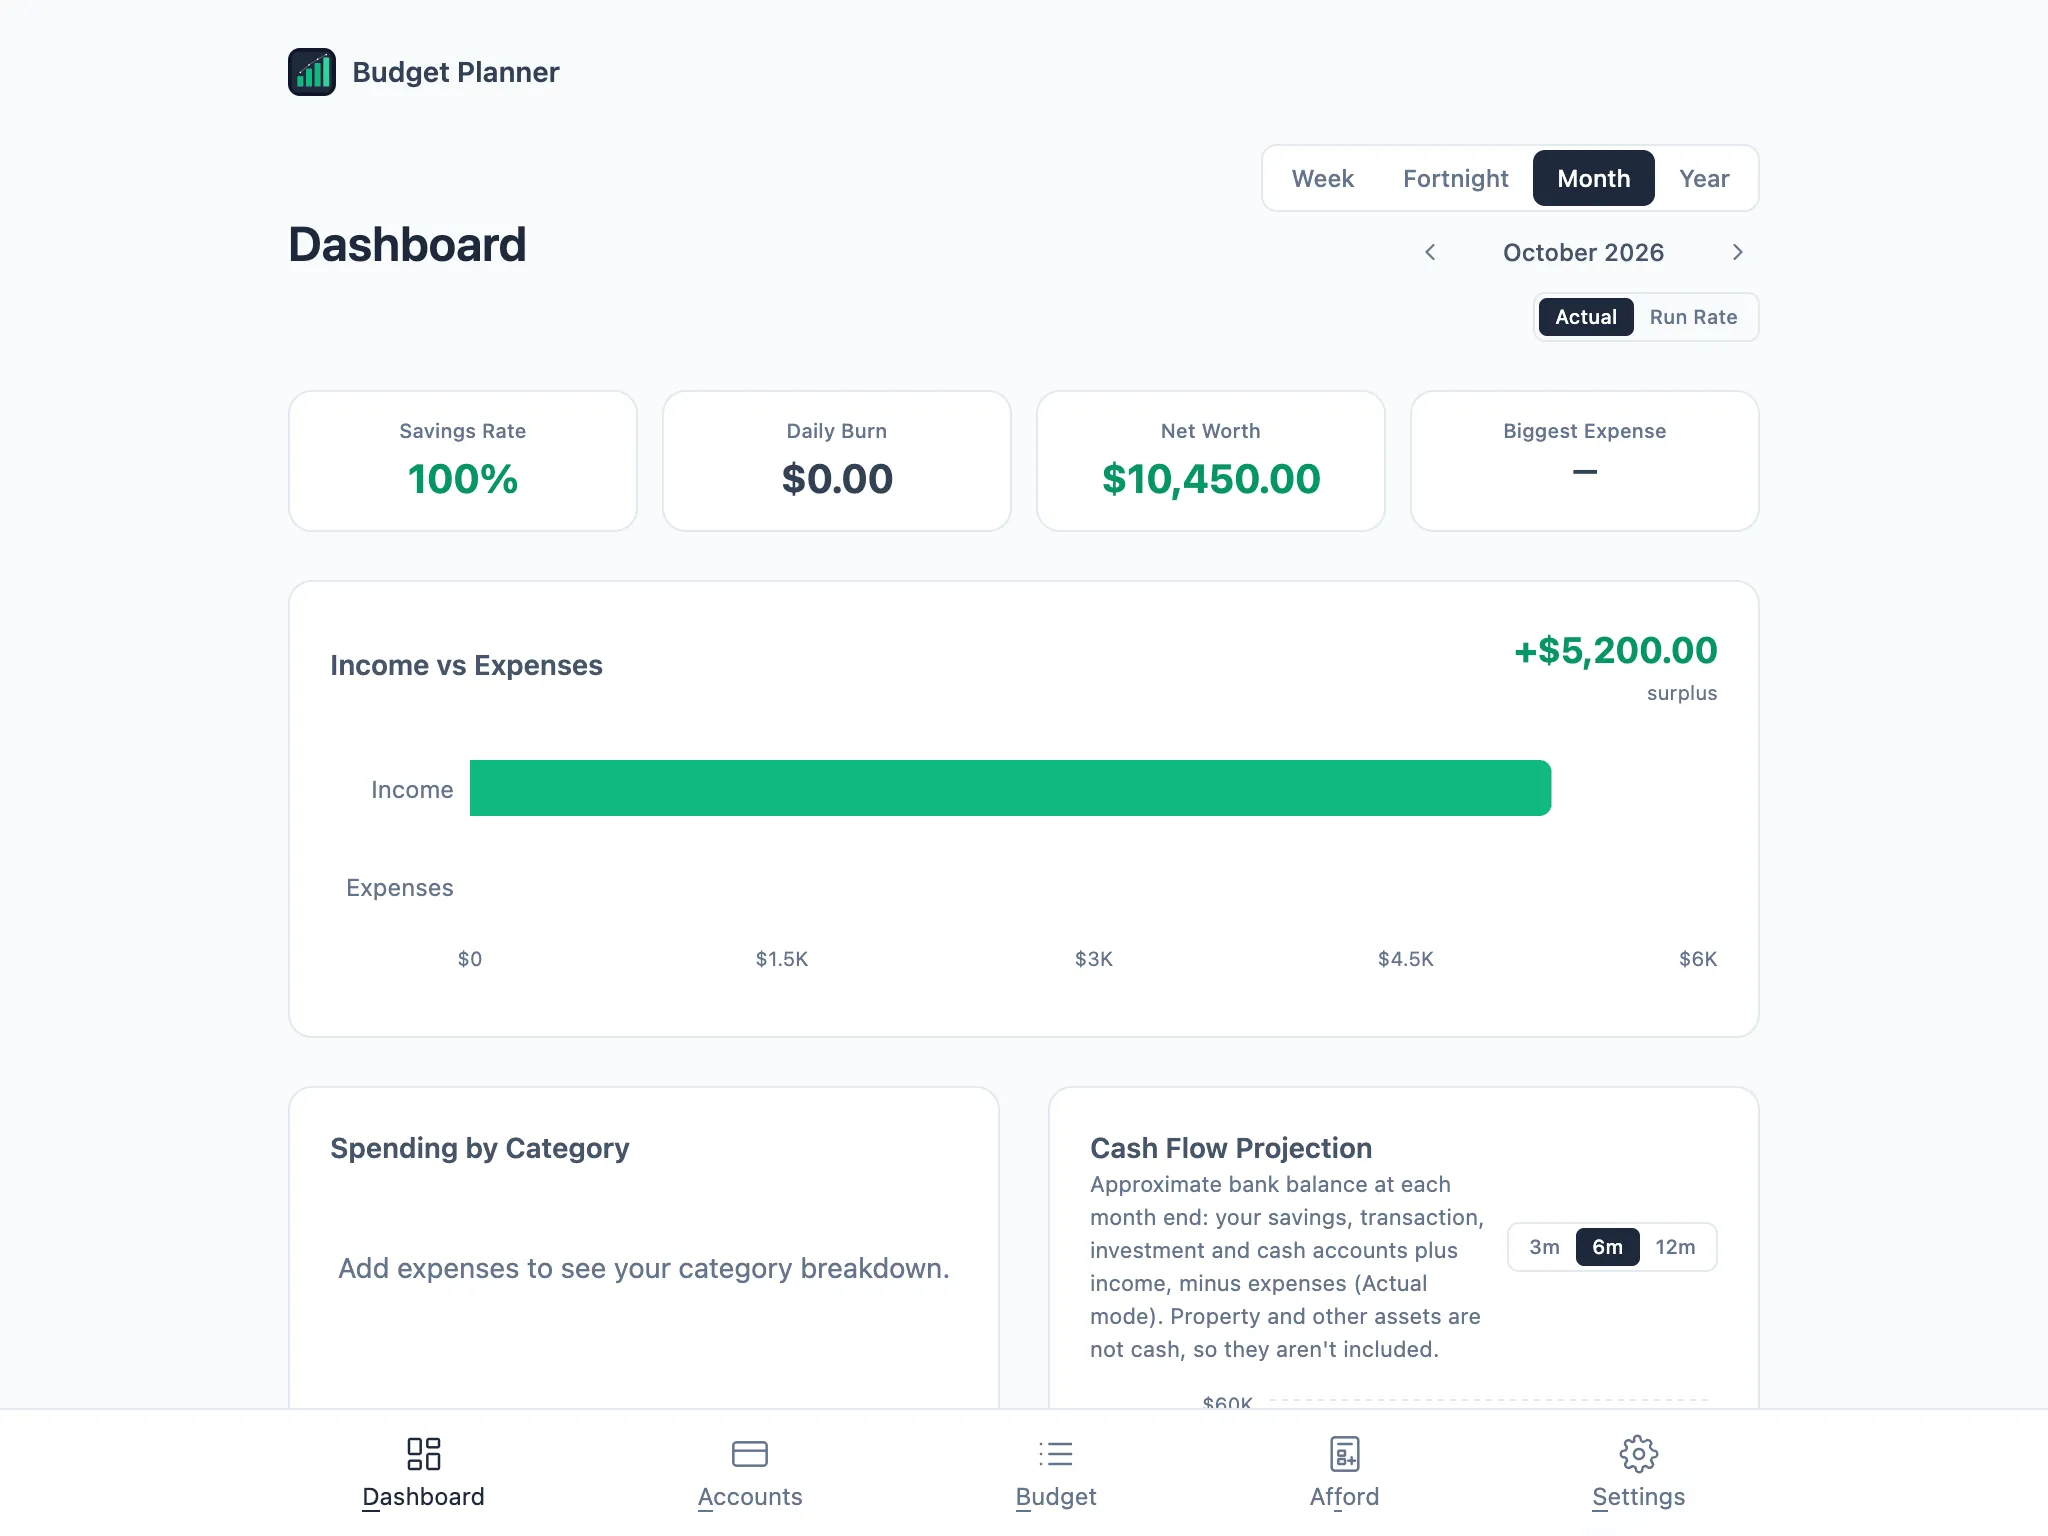
From here, Go to Dashboard shows your month, and Add expenses takes you straight to the Budget page.
Restoring from a backup
Section titled “Restoring from a backup”If you’ve used Budget Planner on another Mac, bring your data across instead of setting up again. On the welcome screen, choose Restore from a backup and pick the backup file you exported on your old Mac, or one from your backup folder.
Budget Planner asks you to confirm, then loads the data from the backup. If there’s anything in the app already, it’s saved as a restore point first.