

Backups
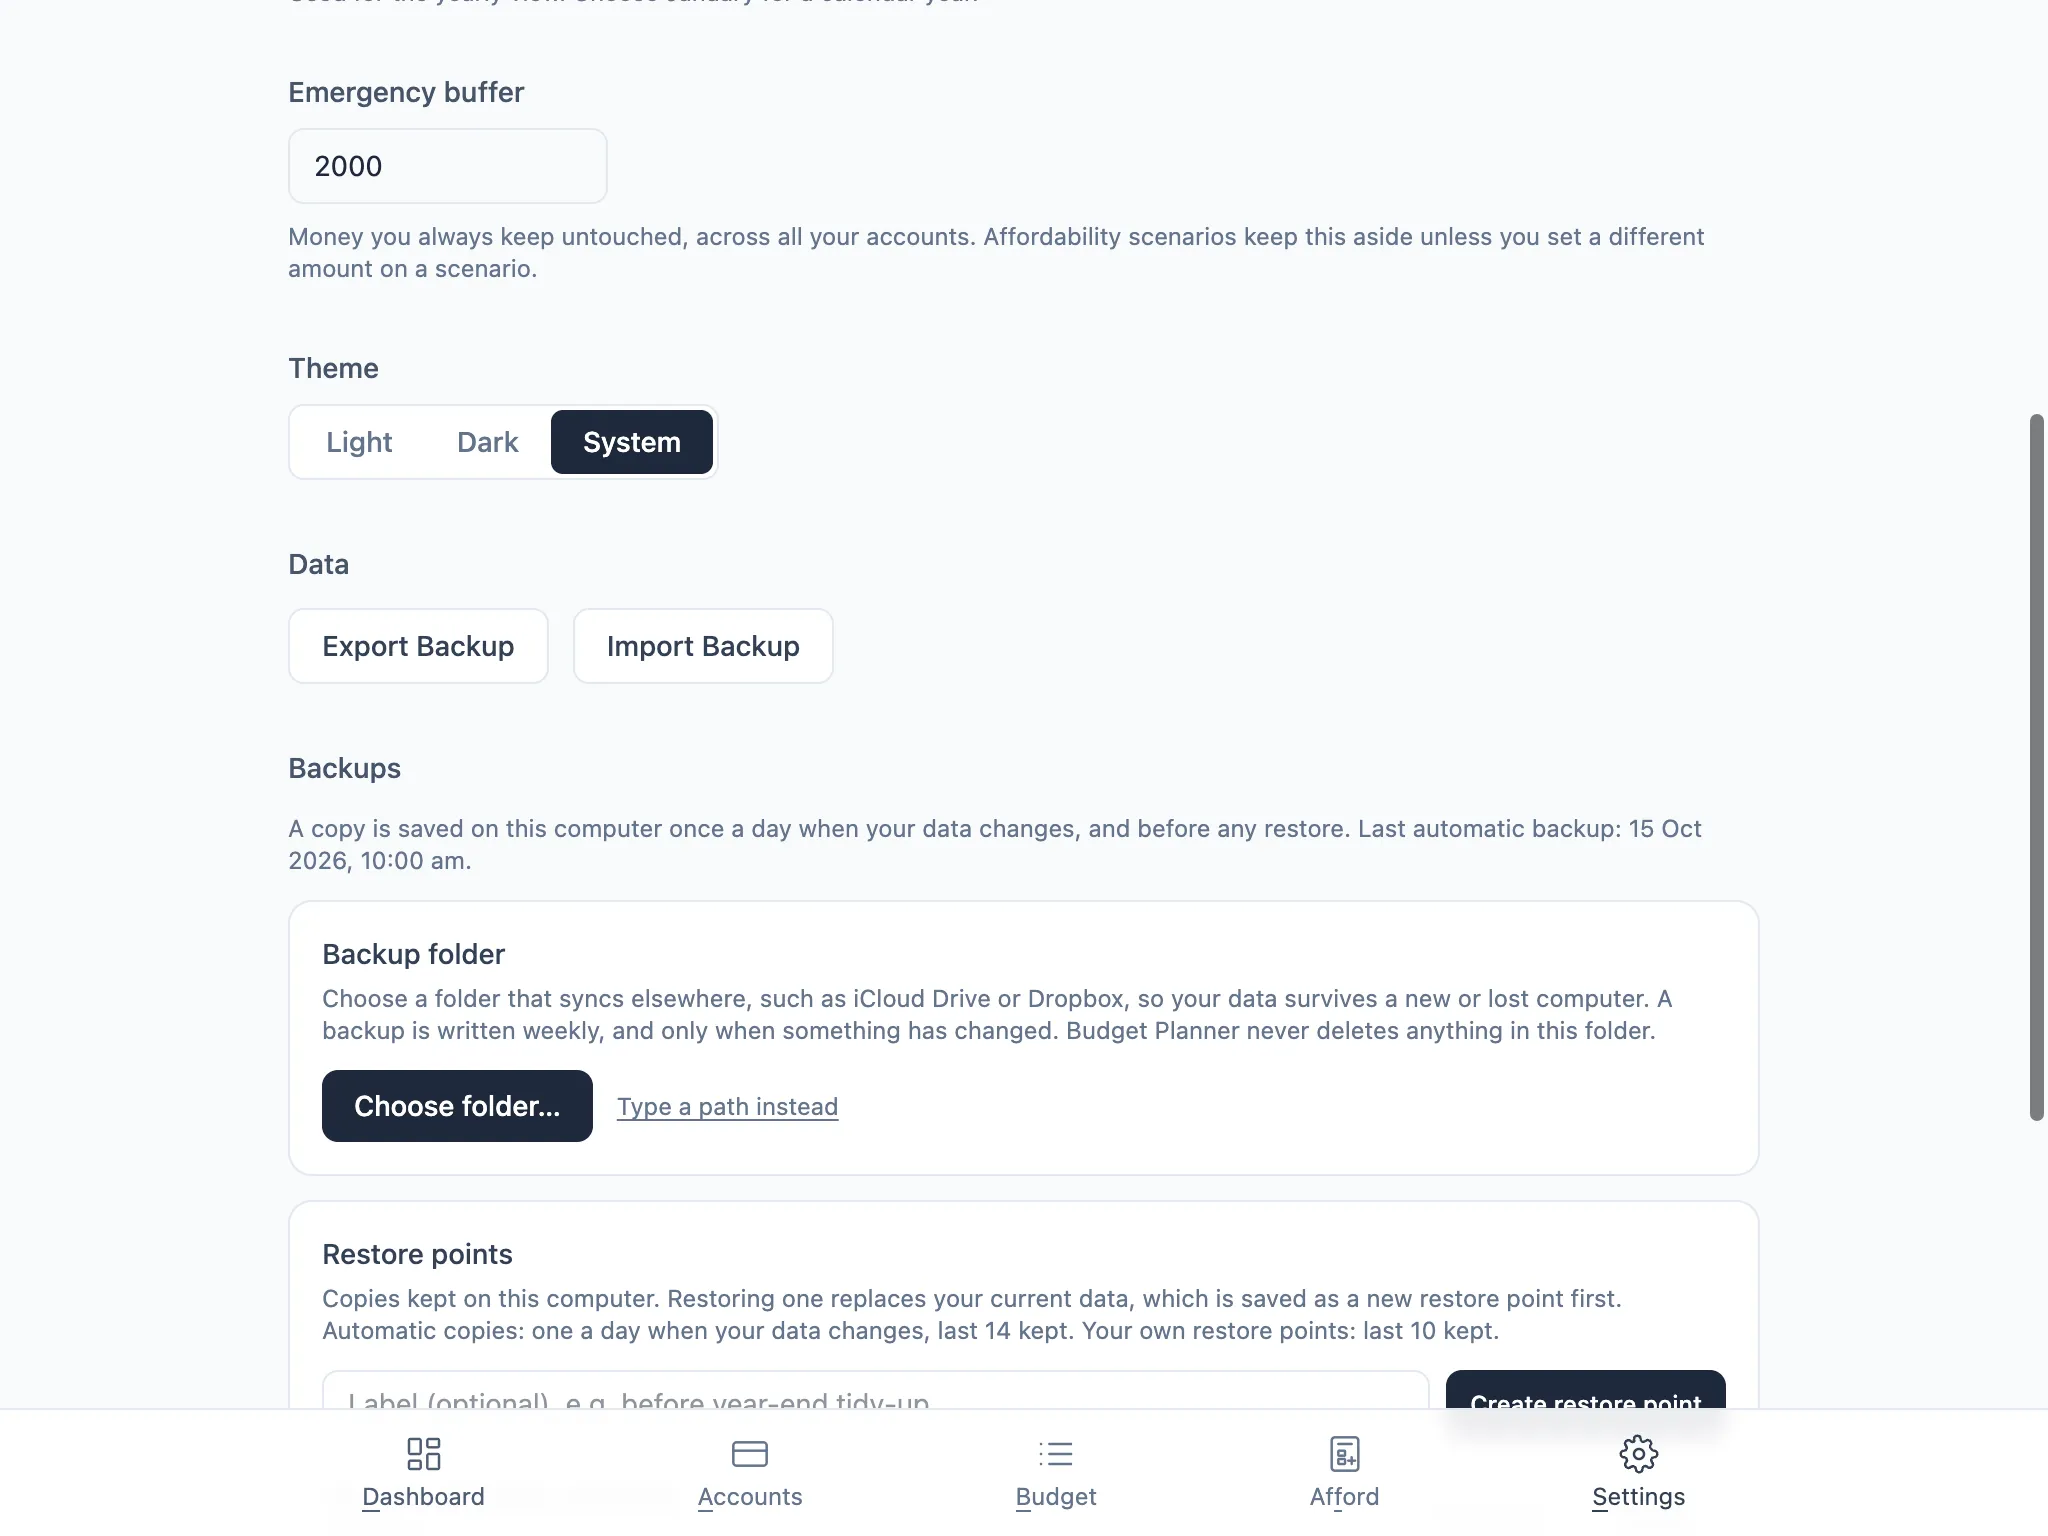
Budget Planner keeps your data backed up without you doing anything, and gives you a few ways to step in when you need to. Everything here lives under Settings → Backups.
Automatic backups
Section titled “Automatic backups”Once a day, if your data has changed, Budget Planner saves a copy on this computer, keeping the last 14. Before any restore, it also saves a safety copy of what’s there first, so you can go back if a restore wasn’t what you wanted.
Restore points
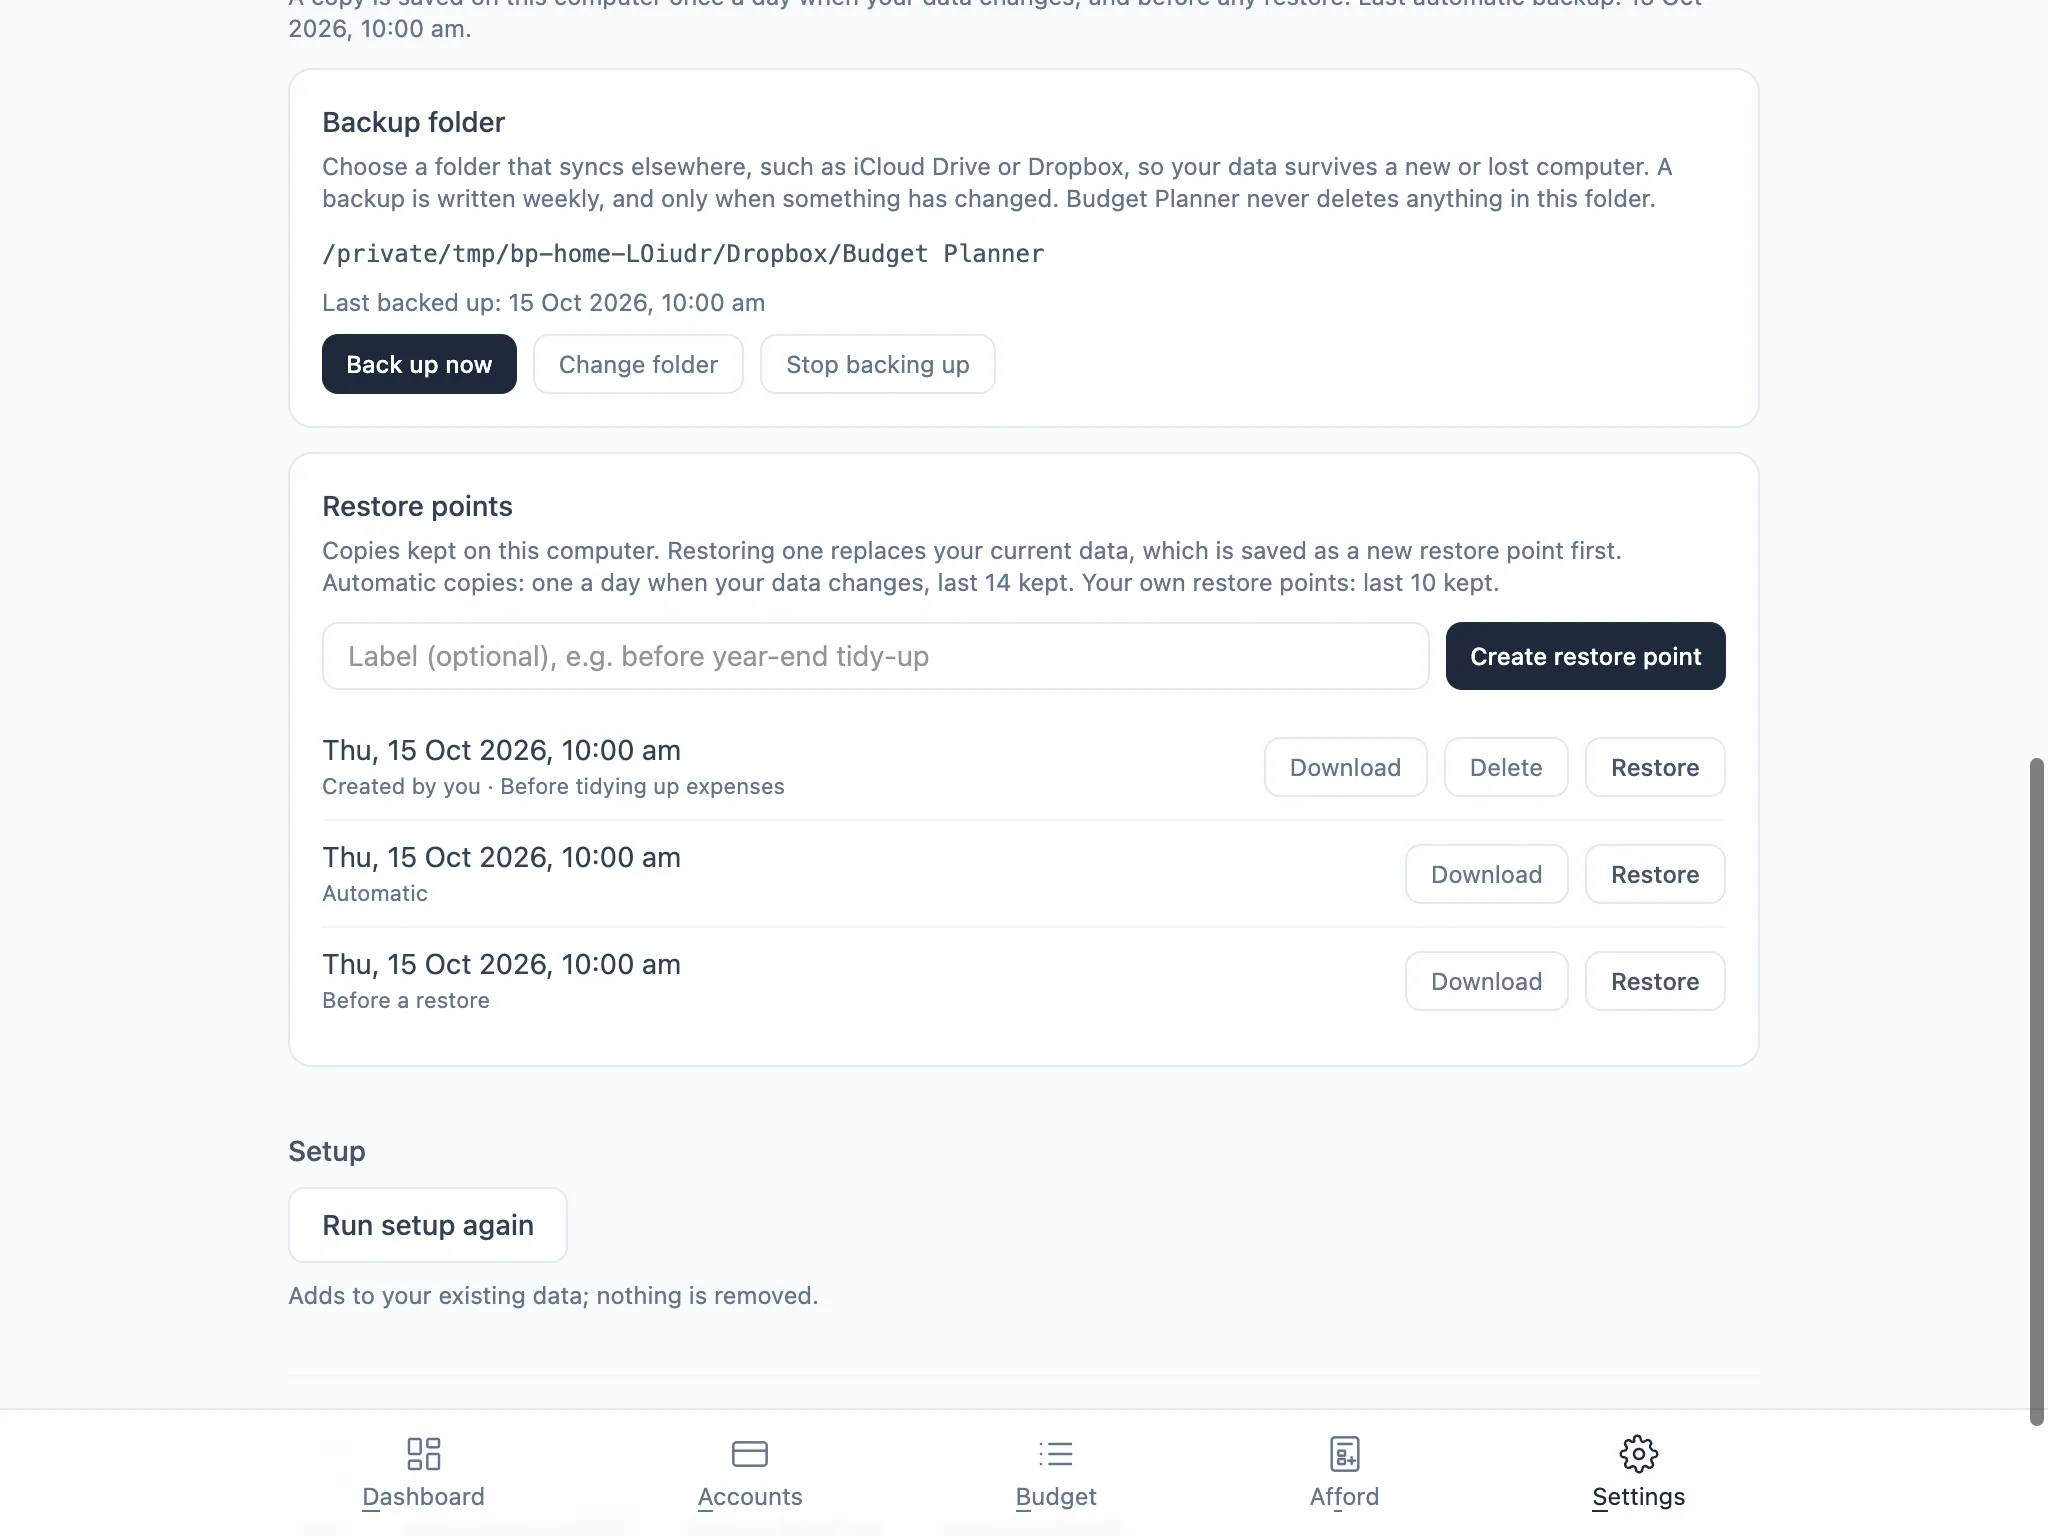
Section titled “Restore points”The Restore points list holds copies made automatically and any you create yourself, newest first, each one labelled by when it was made and whether it was automatic, before a restore, or created by you. Choose Create restore point with an optional label before making a big change, then Download or Restore any point later. Budget Planner keeps the 10 most recent restore points you create; Delete removes one you no longer need (automatic and before-a-restore copies are managed for you and can’t be deleted individually).
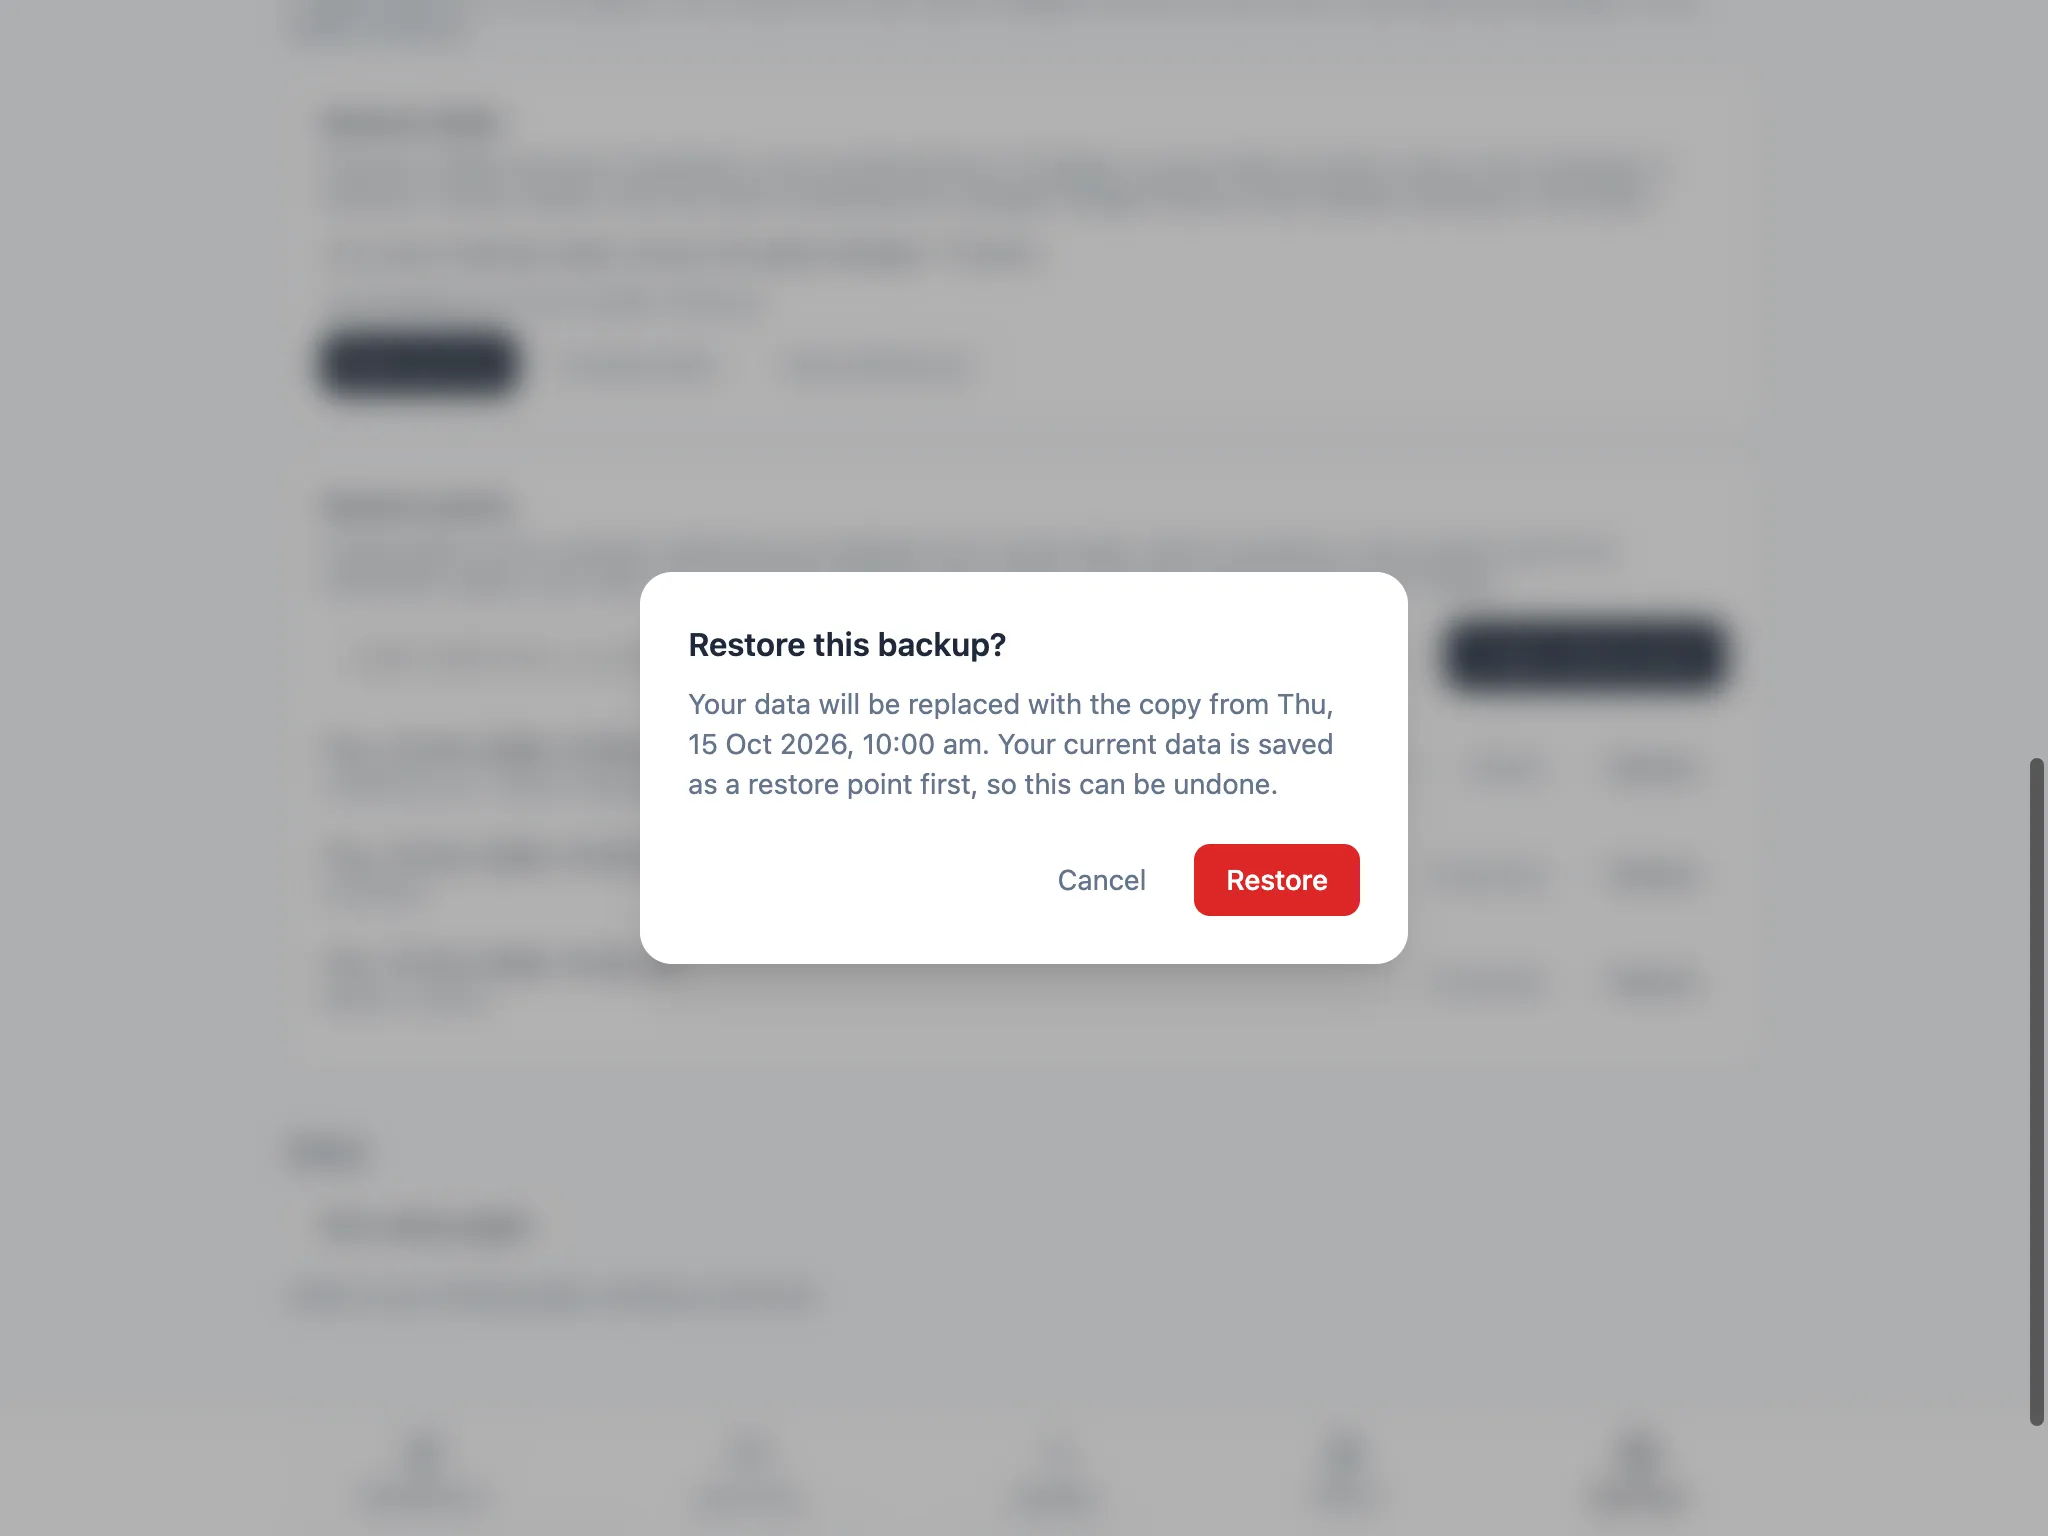
Restoring replaces your current data with the copy, once you confirm. What you had is saved as a new restore point first.
A backup folder
Section titled “A backup folder”For backups that survive a lost or replaced computer, choose a folder under Backup folder, ideally one that syncs elsewhere such as iCloud Drive or Dropbox. Budget Planner writes to it weekly, only when something has changed, and never deletes anything there itself. Use Choose folder… to pick a folder with the normal macOS folder window, or Type a path instead to enter one. Either way, the folder has to be somewhere inside your home folder.
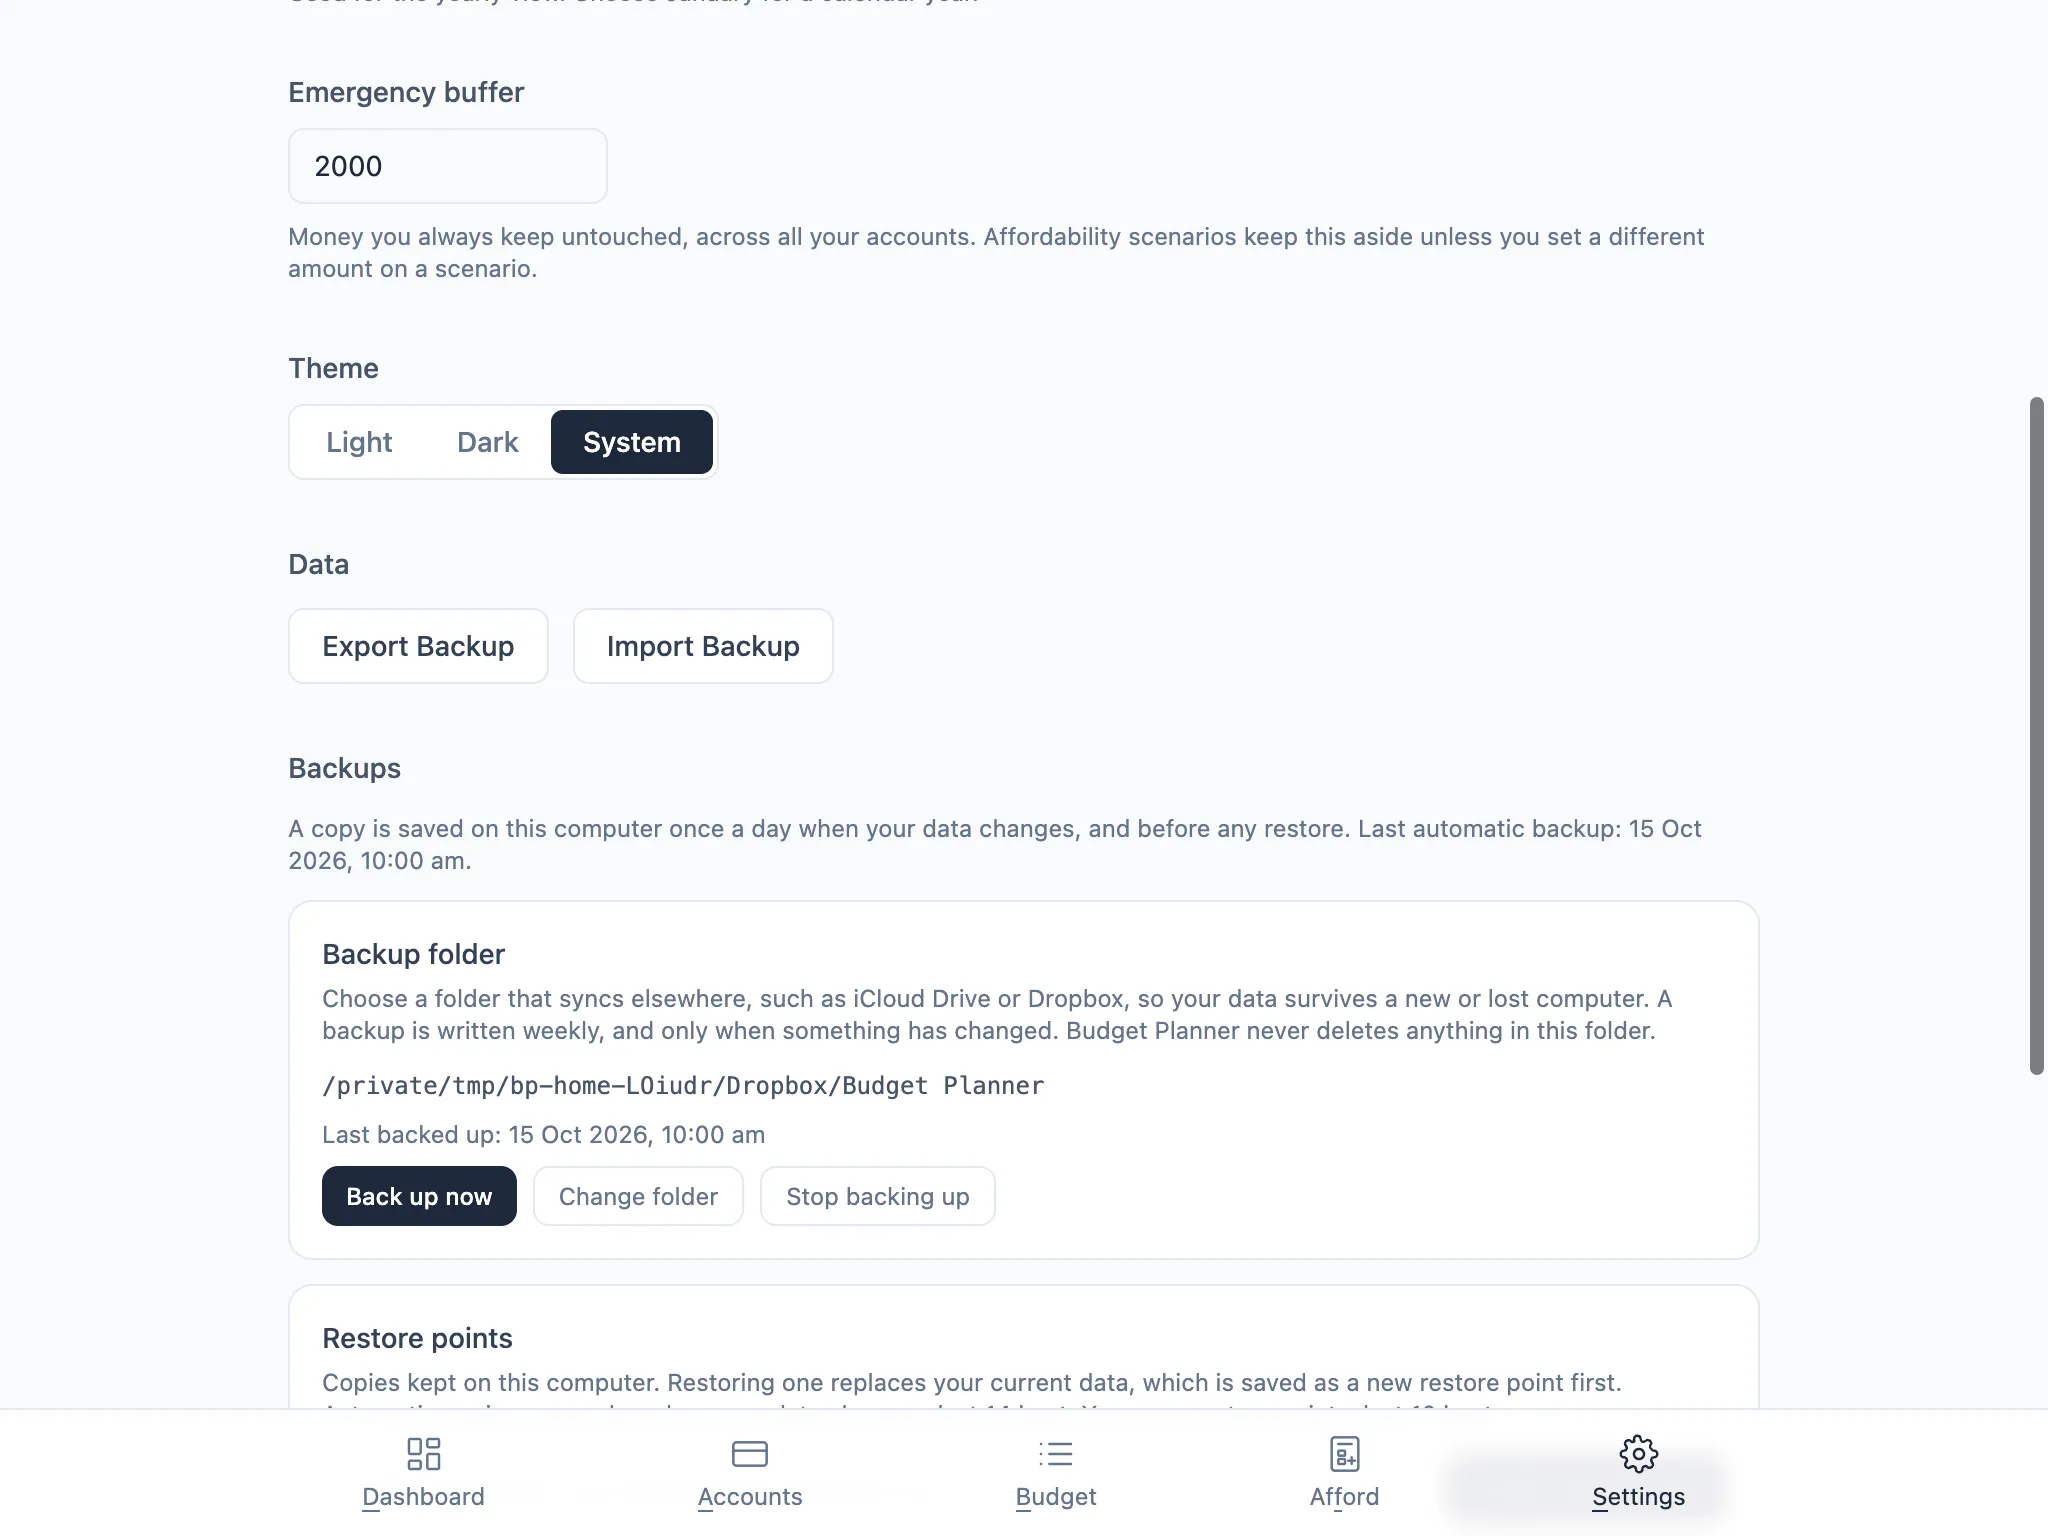
Back up now checks immediately rather than waiting for the weekly run, and does nothing if nothing’s changed since the last one. Stop backing up turns it off; existing files already in the folder are left alone.
Moving to a new Mac
Section titled “Moving to a new Mac”Set a backup folder that syncs through iCloud Drive or Dropbox, or use Export Backup to save a file, then bring your data onto the new Mac with Restore from a backup on the welcome screen (see Getting started) or Import Backup in Settings. Either way, whatever was already on the new Mac is saved as a restore point first, so nothing is lost.